This chapter describes the screens related with the creation and management of process definitions and process instances.
Once you have modelled, configured all the technical details and build and deployed your projects containing your business processes you should be able to see all the available process definitions in the Process Definition List. For all the process definitions listed in the Process Definitions List you will be able to inspect the Process Definition details and start as many Process Instances as needed. The following sections describes the features provided by all the screens in charge of the manipulation of process definitions and process instances. You can find these screens under the Process Management Menu, in the jBPM Console NG or in KIE Workbench.
You can find the source code related with the process definition and instances manupilation inside this module: http://github.com/droolsjbpm/jbpm-console-ng/tree/master/jbpm-console-ng-process-runtime Feel free to report issues, send Pull Requests and get in contact with the team via comments in github.

The process definition section is composed by two main screens: the Process Definition Lists and the Process Definition Details.
The process definition list shows all the available process definitions that were deployed into the platform. Look at the Deployments section for more information about how to check all the deploymed units available in the platform runtime.

You can click in the list rows to access to the details of the process definition.
The process definition details shows all the available information about the process definition. You can consider this screen as a brief about the process model. You can quickly see if there is a Sub Process associated with it, or how many users and groups are participating in the selected definition.
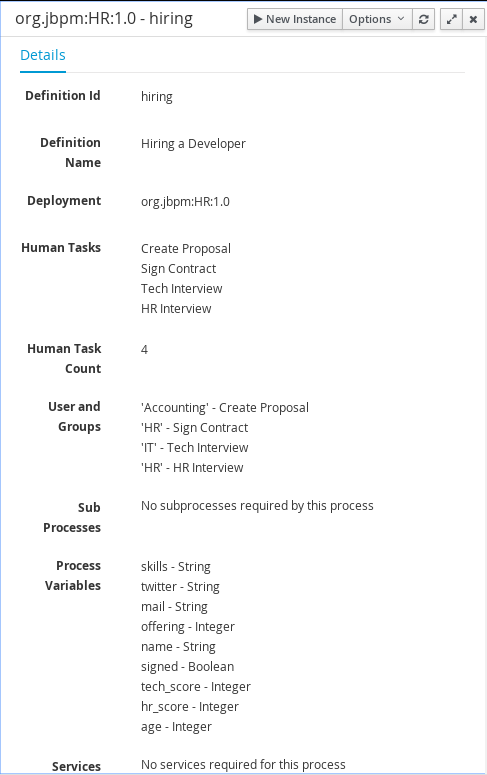
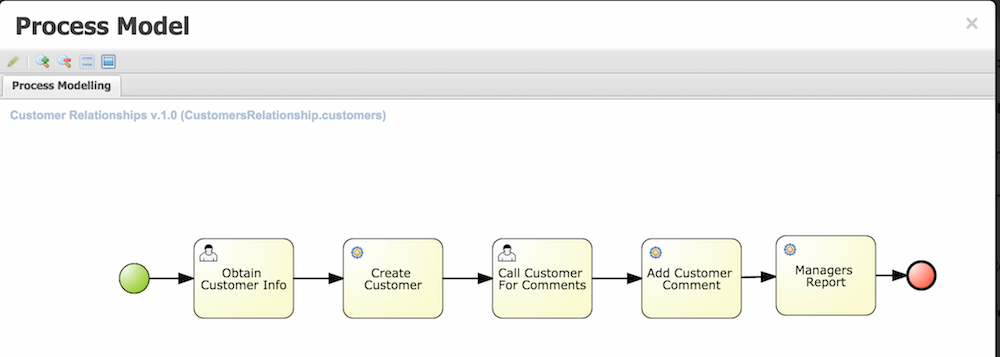
Notice that you can View the Process Model (Read Only mode) using the Options Menu in the top bar. You can also look at all the process instances for the selected process definition by going to Options -> View Process Instances.
You can create new Process Instances from the Process Definition List (Action Column), from the Process Definition Detail view or from the Process Instance.
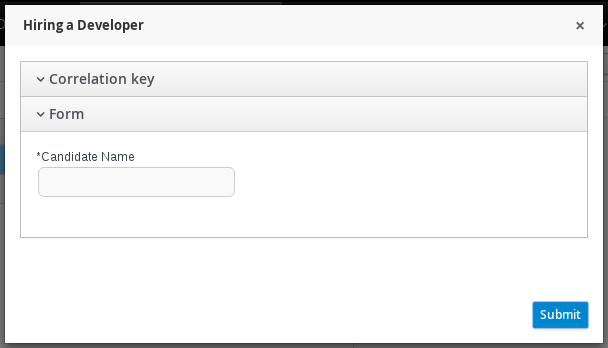
When you create a Process Instance usually a Form will be presented to introduce the information required by the process to be started. Once you complete the required information and click on the Submit button, the instance will be created and the details of the Process Instance will be displayed on top of the Process Definition Details.
The process instances section is composed by two main screens: the Process Instance Lists and the Process Instance Details. In this case the Process Instance Details provides several tabs with the runtime information related with the process.
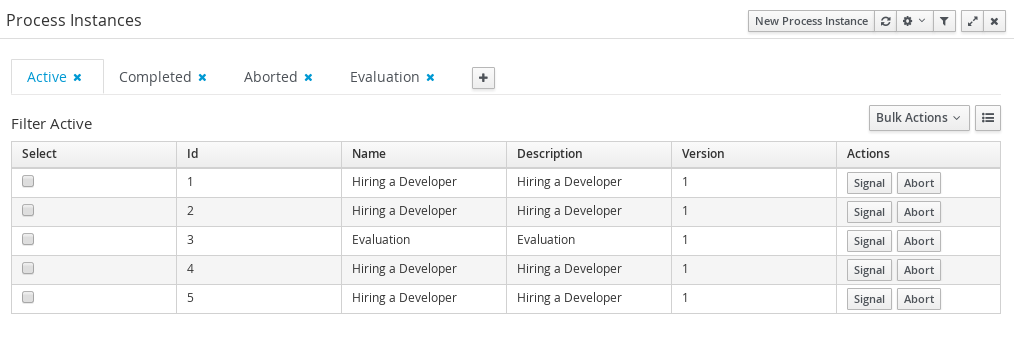
Each row inside the process instance list represent a running process instance from a particular Process Definition. Each execution is differentiated from all the others by the internal state of the information that the process is manipulating. In order to inspect this information you can click in each row to see the process instance details.
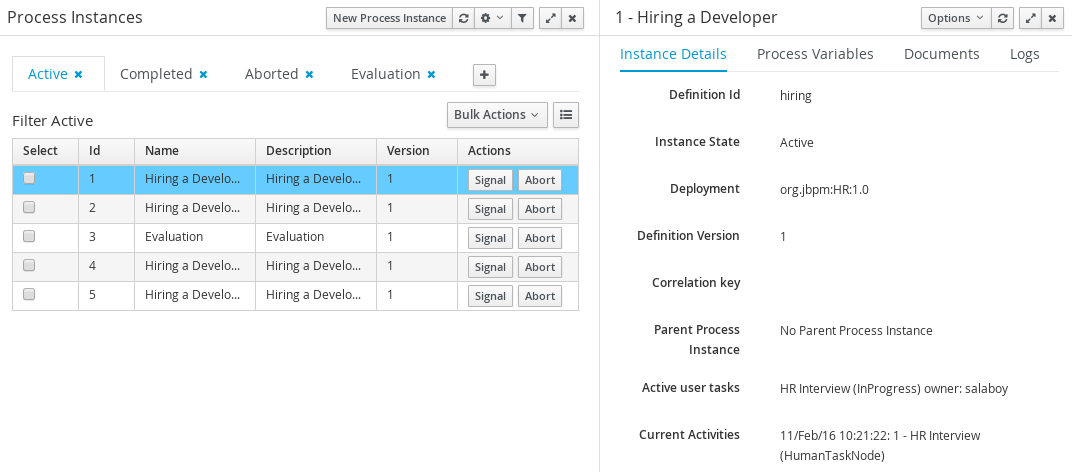
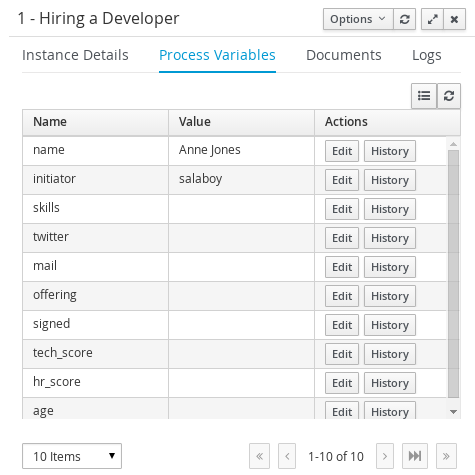
As you can see the Process Instance Detail first tab gives you a quick overview about what is going on inside the process. This is by showing the current state of the instance and also the current activity that is being executed. The process variables tab display all the process variables that are being manipulated by the instance with the exception of the variables that contains documents.
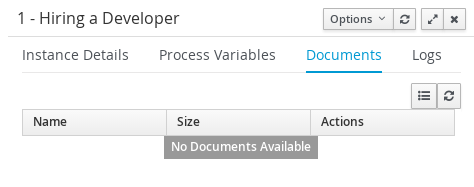
If the process contains a variable of the type: org.jbpm.Document it will be listed in the Documents tab, for easy access, download and manipulation of the attached documents. Notice that at this point you cannot attach new documents to currently running instances, but this feature will be added in future versions.
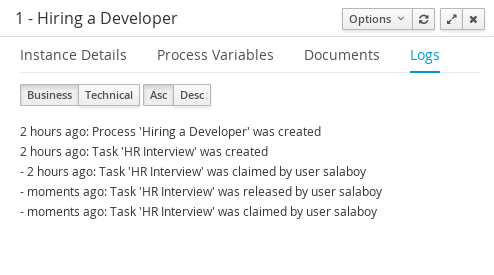
Finally, the Logs tab shows two types of logs for different end users. There are two types of Logs available inside the tab: Business and Technical.
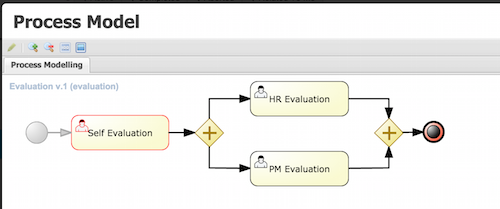
To complement the process logs you can open the Process Model that shows the completed activies in grey and the current activities highlighted in red.
This list works with the concept of view. A view is a set of visualization parameters that modify what items has to be displayed and how the items details has to be shown.
A view embrace
Columns to be shown
Items by page
Restrictions over the displayed process instances
A Name to be shown at tab name
A Description as title when the view is selected
We find here different areas with different purposes:Filtering, general section configuration and specific view parameter setting in the data grid presentation:
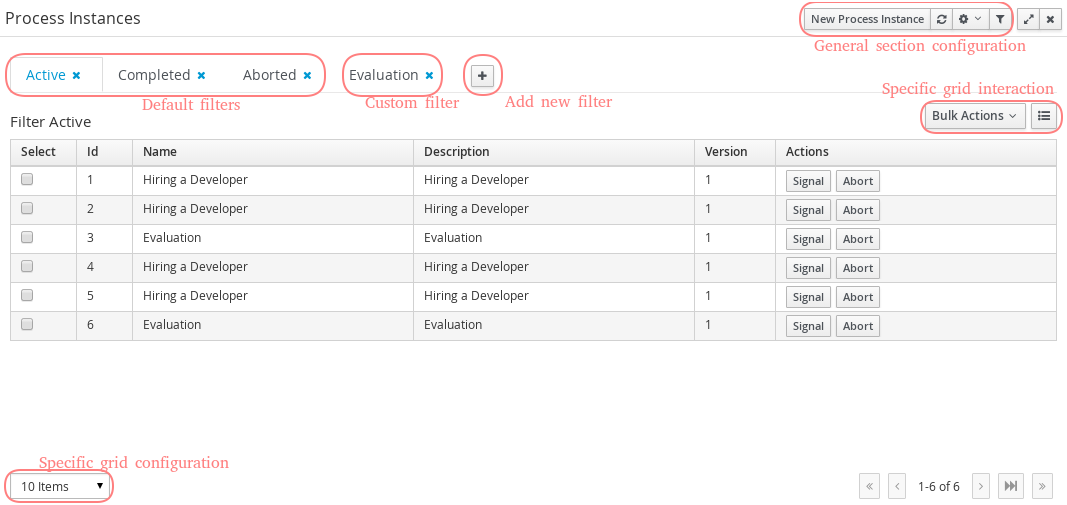
Here, there are the available views as tabs. When a tab is selected, the related parameters are applied to the data grid. Here we have include the Dataset technology for queries and its queries editor as a powerful tool to create the filters
The user can remove existing tabs clicking the cross button near the tab name

A new view can be created clicking the last tab, over the '+' button. A New Items list popup appears and lets the user introduce parameters related with the new tab like: the name, the description and the filter.
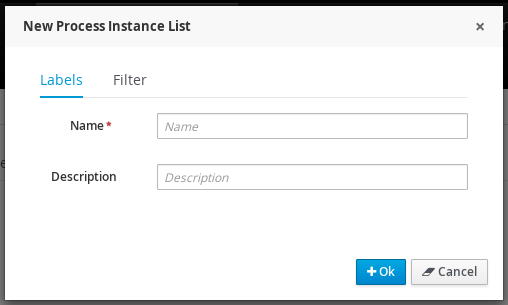
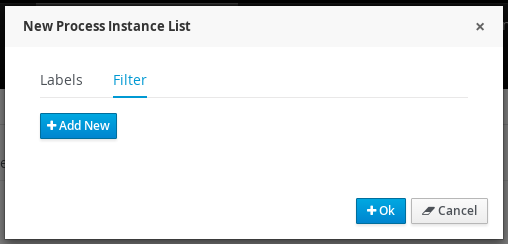
If the view has to include a restriction over a specific column, then the link 'Add new' has to be selected. A drop down list with all the columns to create restrictions
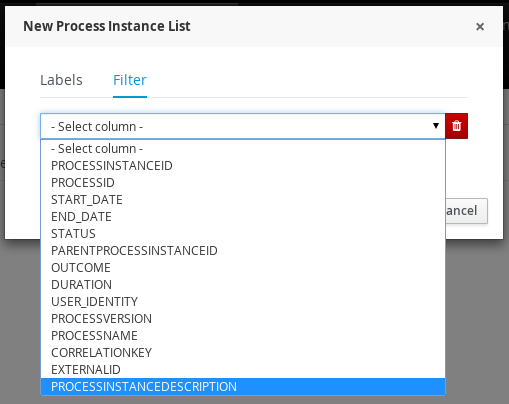
Once the column is selected, depending of its type, a new dropdown list is open with the kind of restrictions available for the selected column and the necessary form to add them.
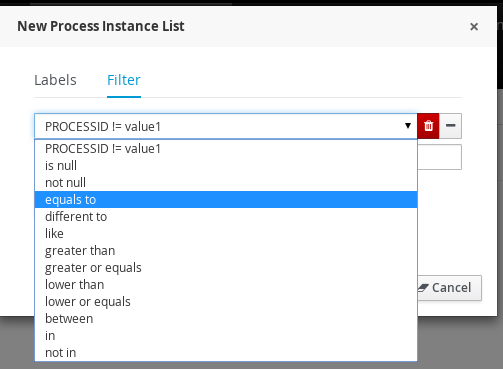
One filter can include a list of different conditions over different columns and the editor allow remove each one clicking th 'x' button near them
Once the view creation parameters are defined, the 'Ok' button makes the new view appears as a new tab.
In this area, the user can create a new item (in this case process instance), can refresh manually the view that is being displayed, can configure autorefresh option and can restore default filters.
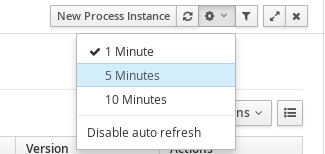
Auto refresh is a functionality that allows define how often the data grid has to be refresed. The user can select one of the different values ( 1,5 or 10 minutes),or disable this feature, clicking 'Disable'. If the auto refresh is enabled, then the last view displayed is refreshed after the amount of time defined.
The last button is the 'Restore default filters'. There is a set of predefined views that appears the first time the user access to the section, in the case of process instances list they are: Active, Complete and Aborted. The user can remove every view includind the default ones, but in this area the default views can be restored clicking 'Restore default filters'.
In this area the user can change dynamically the view editable parameters like visible columns, or set the number of items to show in a page.
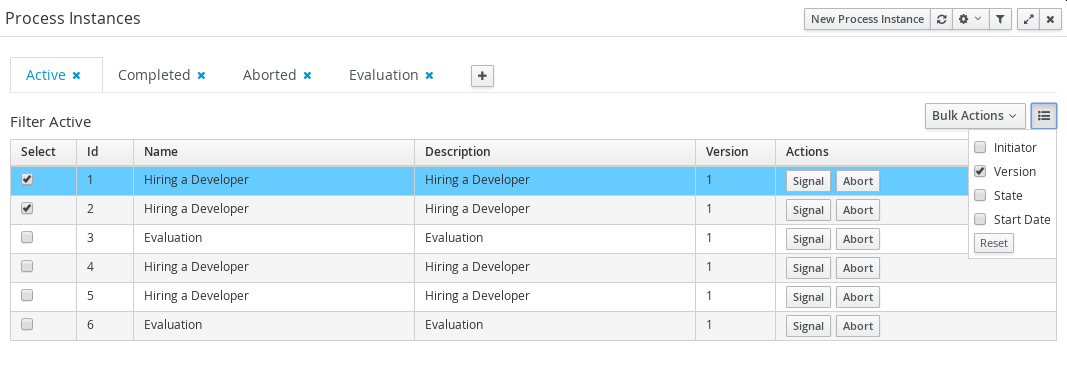
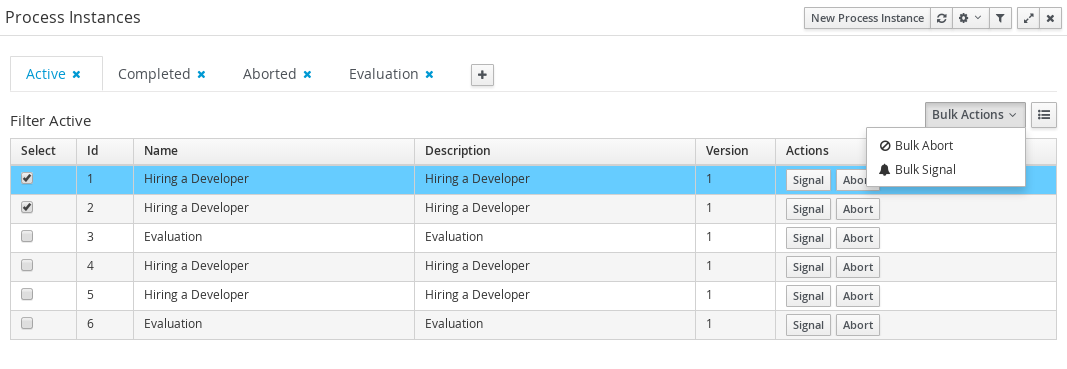
Here we have the posibility or execute bulk actions over the items marked as selected. I this case the available actions are 'Abort' or 'Signal'
The number of items to show in a page can be configurable too, from the page size dropdown list
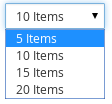
There is an specific restriction than makes the process instance list view, have a different behaviour. This happend when a filter over the column 'PROCESSID' is defined.
In this case, the columns available to show have been incremented with the specified process variables which have value. The user can then, view process instance variables from a specific process id, in the same grid of the process instances.

This chapter introduces the Task Management screens and the its integration with the Form Modeller component to allow users to work on their assigned tasks. You can find the source code of these screens here: https://github.com/droolsjbpm/jbpm-console-ng/tree/master/jbpm-console-ng-human-tasks . Feel free to report issues, send Pull Requests and get in contact with the team via comments in github. At the end of this section you will find a technical description about how to customize these views.
Every user with access to the platform will have access to its personal task list where tasks assigned to him/her will be displayed. Each user will be able to create its own personal tasks or work on tasks that were create as a result of a business process execution.
You can access to the Task List accessing Tasks main menu:

Pending tasks for each user will be displayed in their task list screen. Notice that you will not be able to see assigned tasks from another user different from the one that is currenlty logged in.
The list will show all the tasks that match with the defined restrictions ordered by the columns presented. You can change the default ordering clicking on the column header. This view offer a more traditional BPM Task List view where you can sort the data based on different columns.
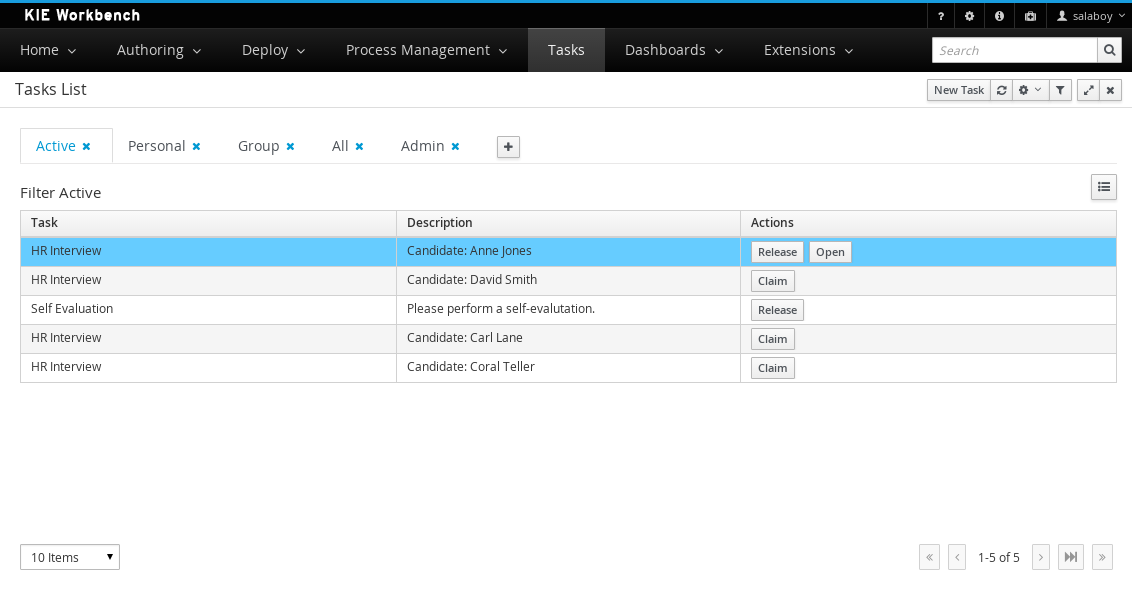
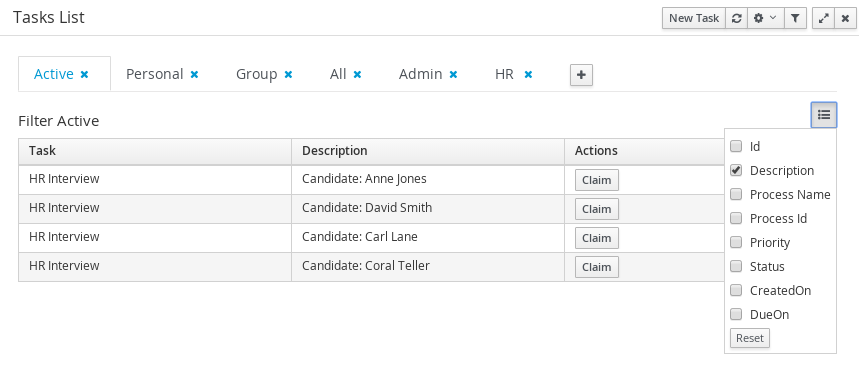
Here appears again the concept of view versus just filtering as we explained in the process instante list. The default views here have the following restrictions over the tasks to show:
Active: all the Active tasks that user can work on. That means Personal and Group Tasks.
Personal: all the personal tasks that already belong to the user.
Group: all the group tasks that needs to be claimed by the user in order to start working on them.
All: show all the tasks no matter the status. It will show completed tasks as well with the exception of completed tasks that belongs to a process that is already finished. In such cases the tasks are cleaned up after the process is completed and for that reason they will not be displayed.
Admin: show all the tasks where the currently logged user was set as business administrator for such task.
Note
The user can always restore the default filters selecting the option 'Restore default filters'
As was explained in the process instance list, the user can define custom filters adding new tab and defining restrictions over task data in this case.
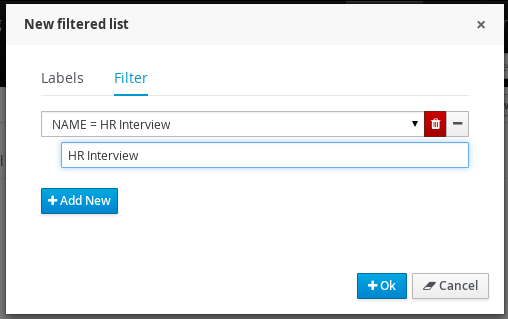
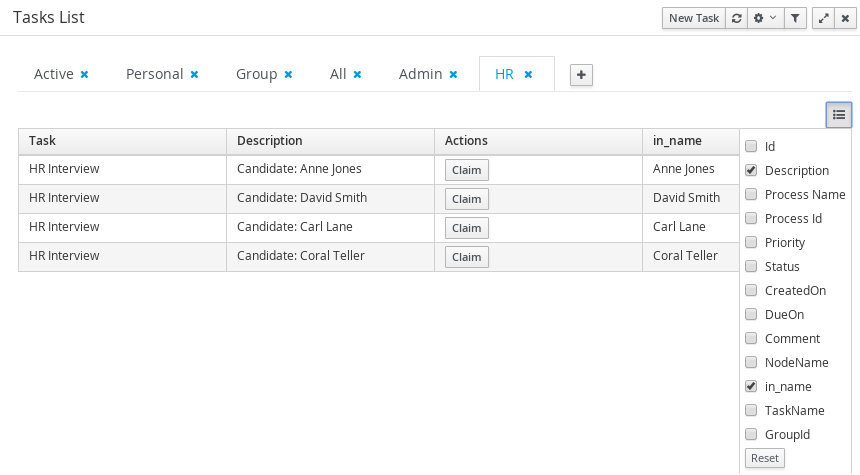
The user can now create a specific filter that provides domain specific columns to be added to a task list. When the user creates a custom filter for a specific task name the task variables are enabled as columns.
The custom filter that activates the capability to display task variables as columns is set a filter with the restriction Name="taskName".
When the filter with the restriction over a specific task name is applied, the task associated variables appear as a selectable columns, to the task list.
You can access to the Task Details by clicking in a task row. The details associated with a task can be changed, like for example the Due Date, the Priority or the task description.
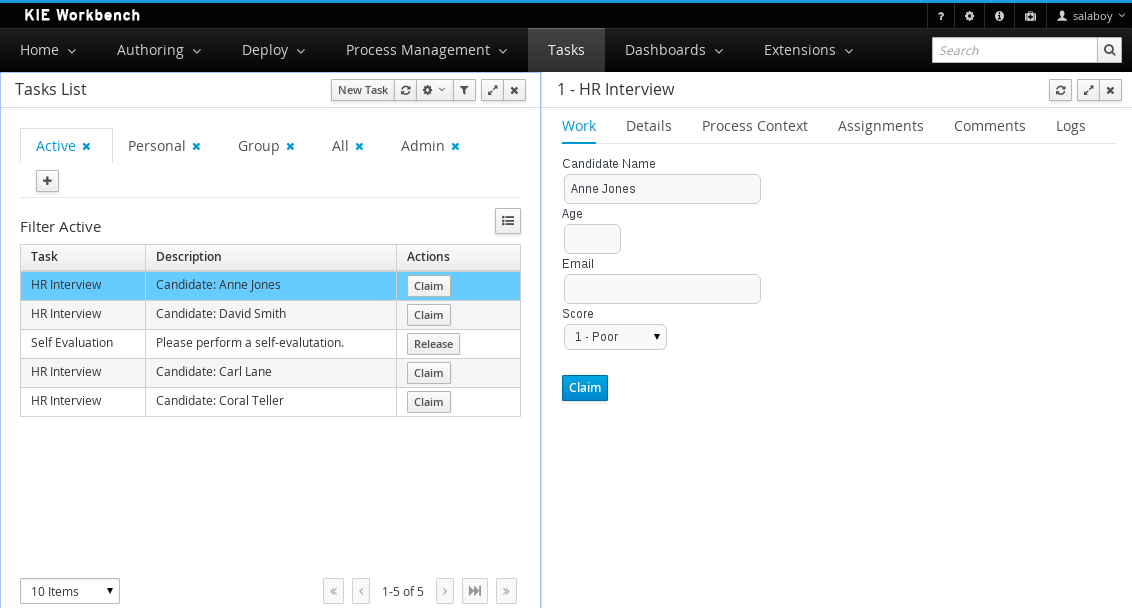
The task details appear in a new region with different sections that allow view the task associated information:
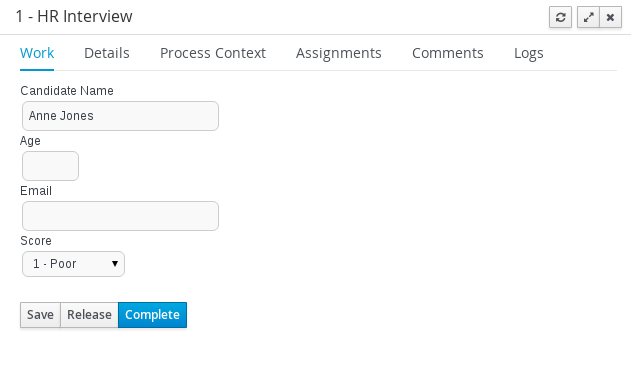
Work In this tab the associated form is displayed if the task has one. In this section is where the user can interact with the process, executing the available actions in each moment.
Details Here the basic task data is accessible: priority, status, description
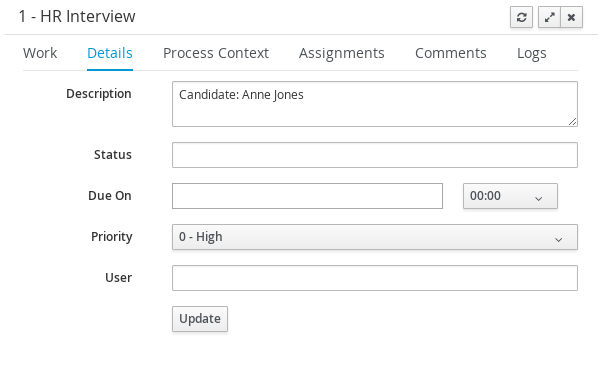
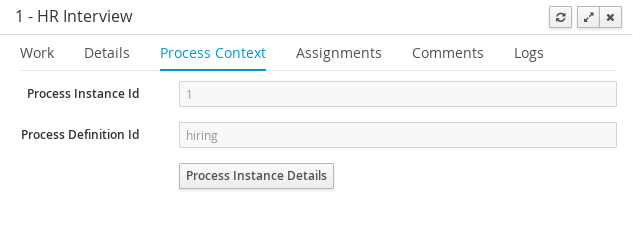
Process Context Data related with the process instance associated. If the task was created by a Business Process, you will have access to see the Process Instance status that has created it.
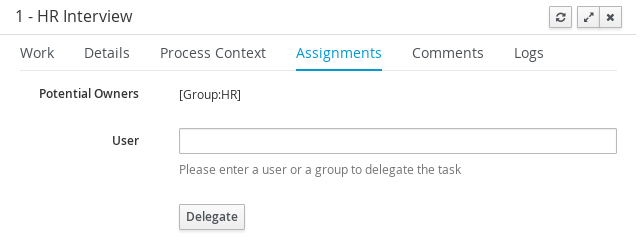
Assignments The Task Assignments tab allows you to delegate the task to another person or group if you are not able to continue working on it.
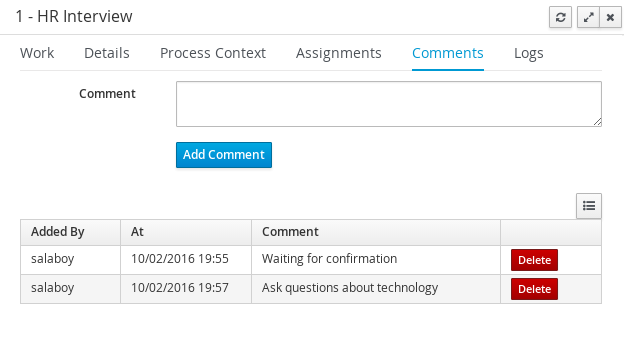
Comments You can also add while you are working on a task comments about the progress.
Tasks can have associated a Form to store data. If tasks are part of a Business Process, usually some data needs to be collected and propagated to the business process for further usage. For that reason, tasks has to provide a way to gather and store data. Forms can be created for specific tasks using the Form Modeller. If no form is provided a dynamic form will be created based on the information that the task needs to handle. If a task is created as an ad-hoc task (not related with any process) there will be no such information to generate a form and only basic actions will be provided.
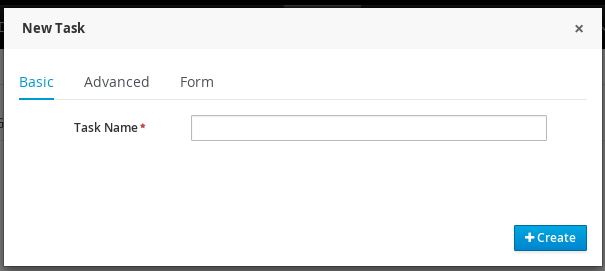
As mentioned in the introduction a User can create their own tasks, which will not be associated with any Business Process. These tasks can be used to keep track of your personal list of TO DOs. You can also create tasks and assign them to different people in your team or group.
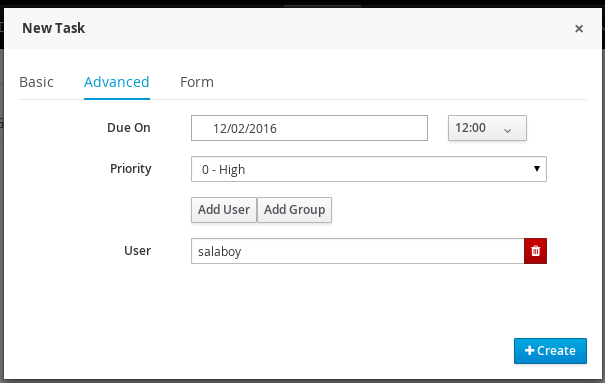
At the advanced tab the user can define information like priority or the task due on date.
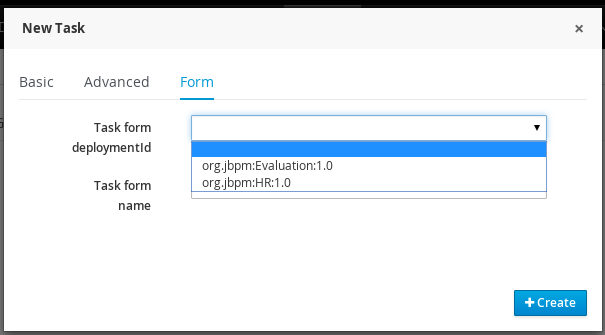
When a user creates a new task, can associate an existing form. At the 'Form' tab, the deployment id has to be selected from the list of available deployments id
In that moment, the next list of form names is filled with the available forms at that deployment.
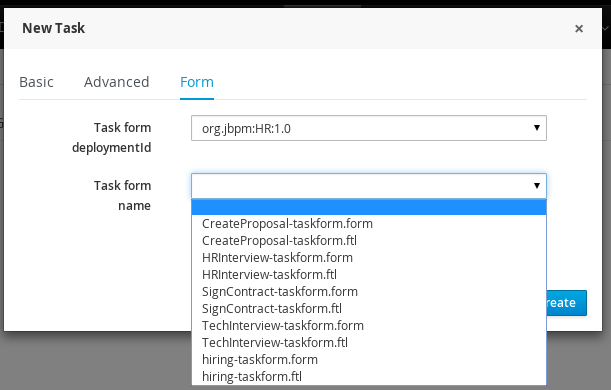
Once the 'Create' button has been selected, a task is created with the associated form and the status 'In Progress'. The complete action on task shows the selected form.
